Email authentication
Aside from authenticating users in Auth.js via OAuth, you can also enable the option to authenticate them via "magic links". These are links that are sent to the user's email and when clicking on them they'll sign up the user automatically.
Adding support for signing in via email in addition to one or more OAuth services provides a way for users to sign in if they lose access to their OAuth account (e.g. if it is locked or deleted).
The Email provider can be used in conjunction with (or instead of) one or more OAuth providers.
How it works
On initial sign in, a Verification Token is sent to the email address provided. By default this token is valid for 24 hours. If the Verification Token is used within that time (i.e. by clicking on the link in the email) an account is created for the user and they are signed in.
The Email Provider can be used with both JSON Web Tokens and database sessions, but you must configure a database adapter to use it. It is not possible to enable email sign in without using a database.
1. Installing nodemailer
nodemailer is a peer dependency when using the Email Provider. This means we need to install before we can start sending emails:
- npm
- Yarn
- pnpm
npm install nodemailer
yarn add nodemailer
pnpm add nodemailer
nodemailer will enable us to send emails from NodeJS, which the runtime on which Next.js application operate.
2. Setting up a SMTP service
Next we need a SMTP service which will be in charge of sending emails from our application. There's a number of services available for this, however here are the ones known to work with nodemailer.
For this tutorial, we're going to be using Sendgrid, but any of the services linked above should work the same
First create an account in and then login to the dashboard, then navigate to "Settings → API Keys" and create an API key:
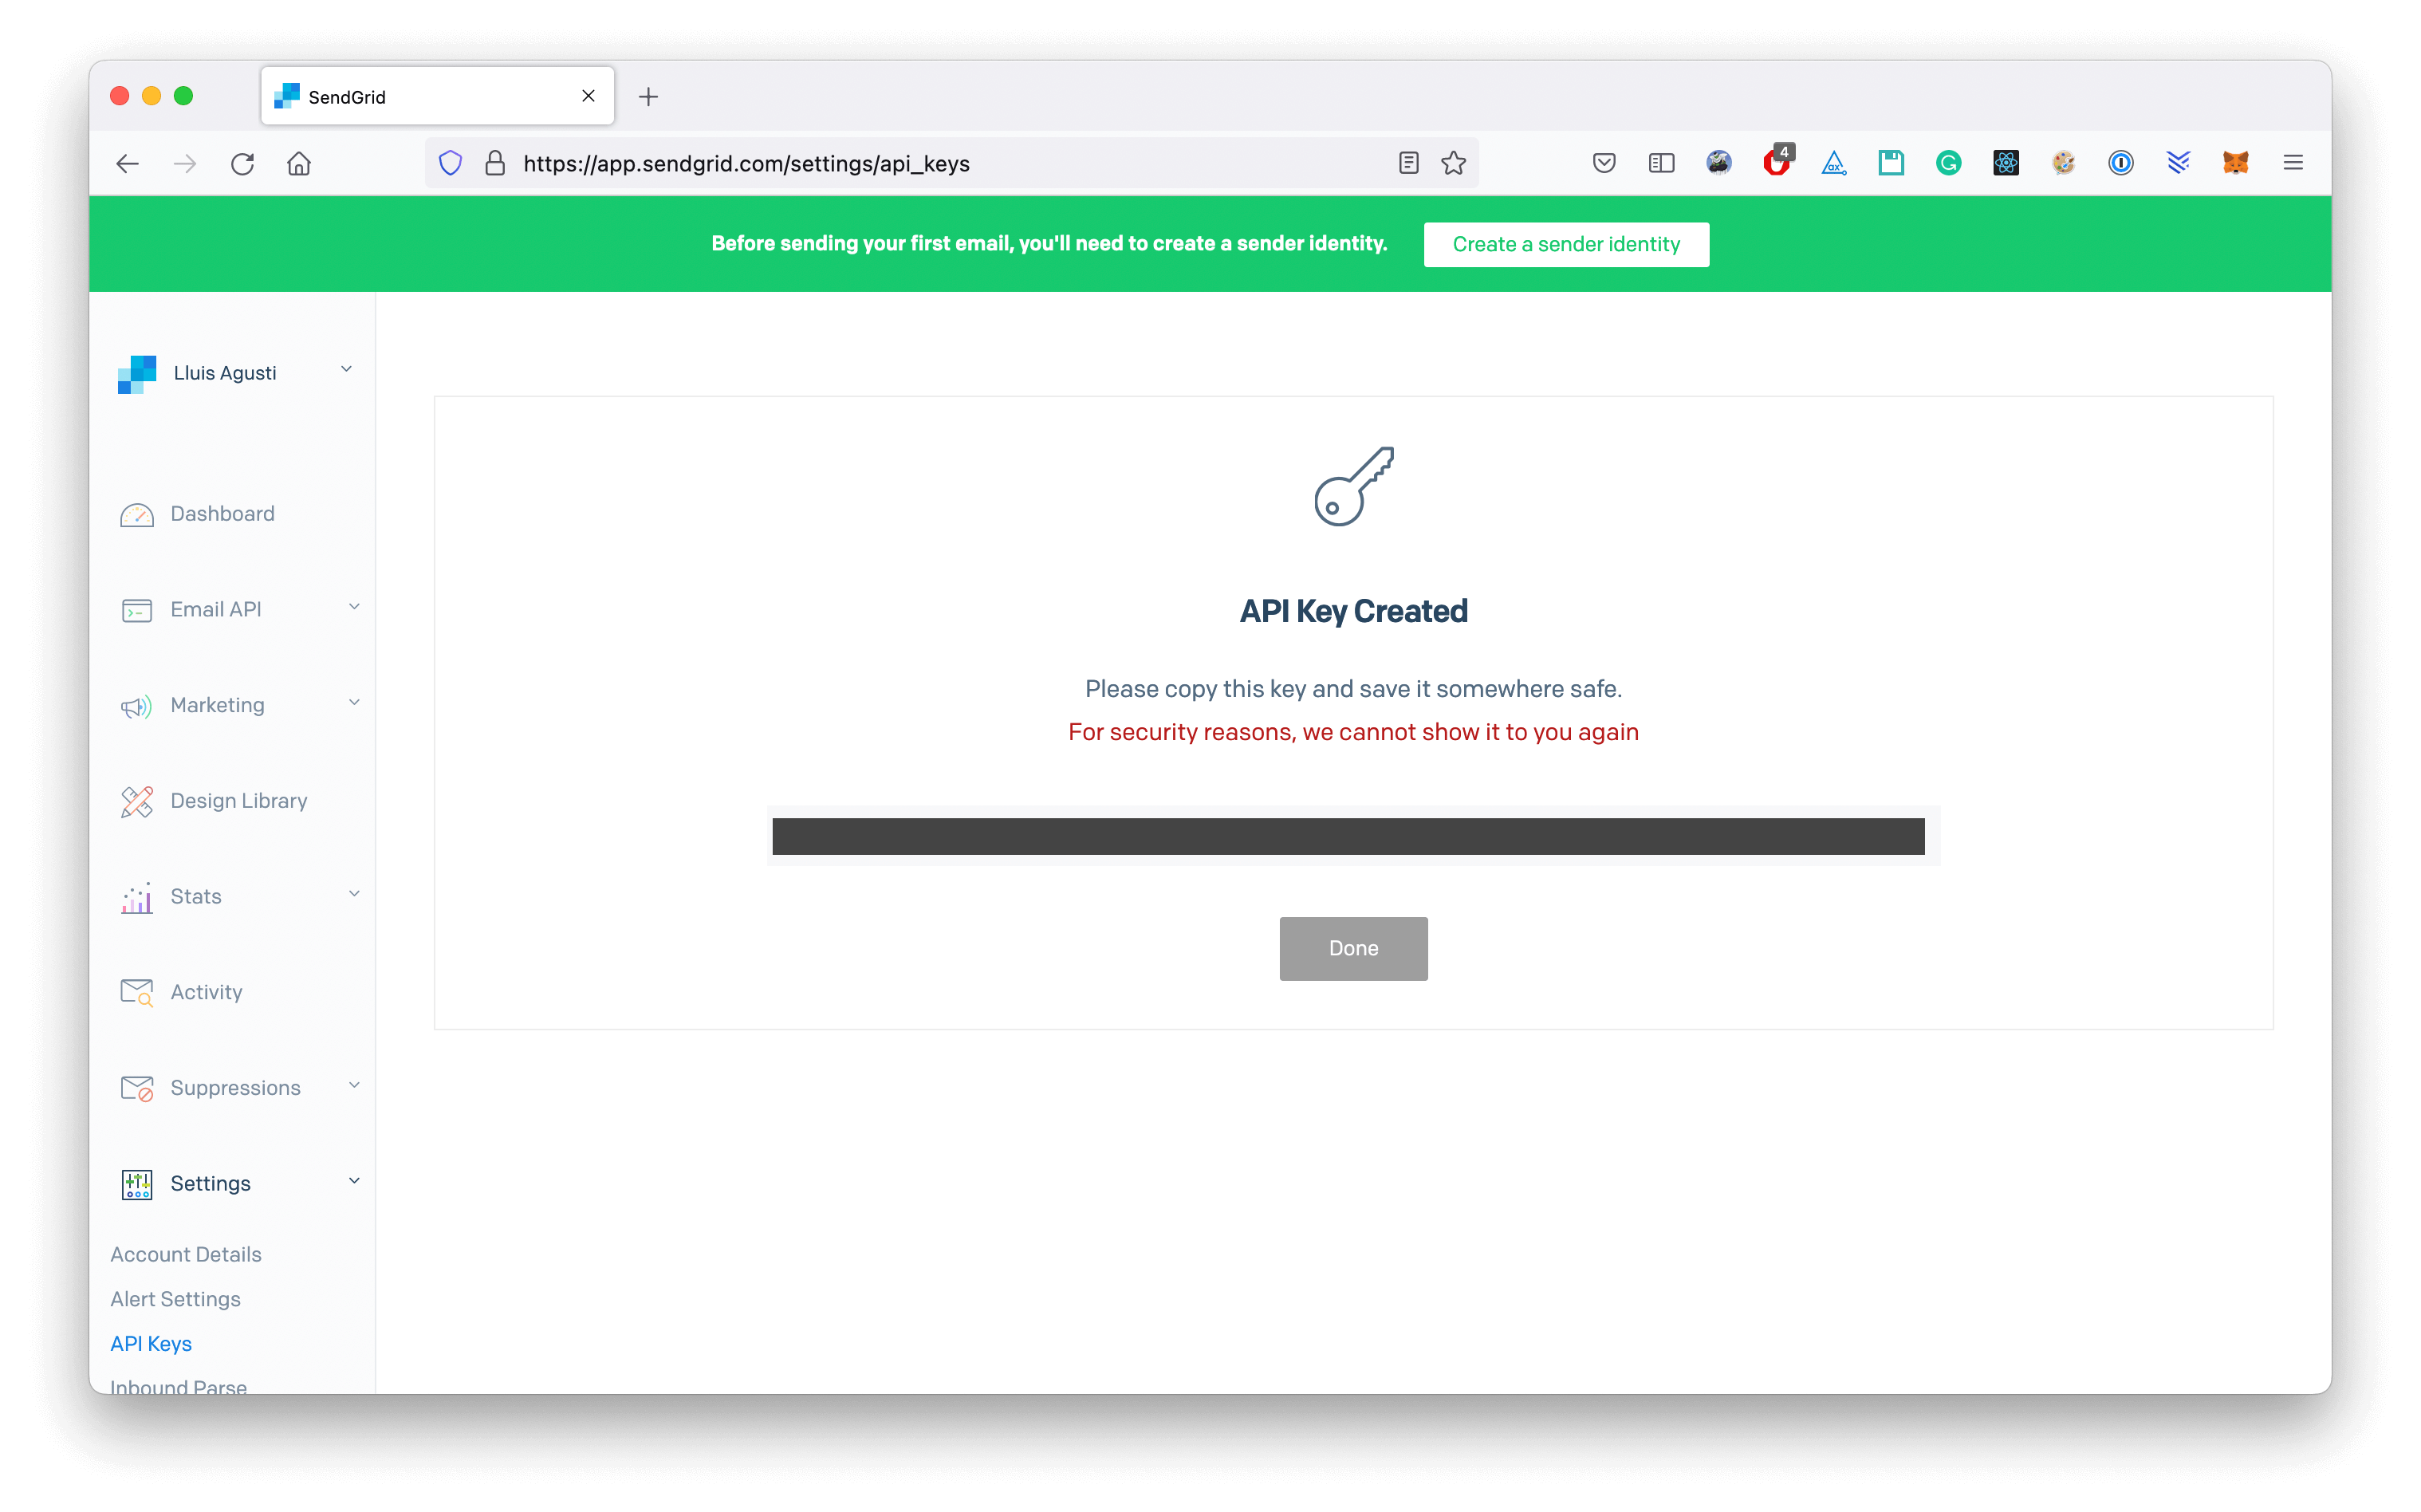
Next paste the API in your terminal as so, and run the command:
echo -n '<YOUR_API_KEY>' | openssl base64
Next, as per Sendgrid documentation, let's add the following environment variables in our Next.js app:
SMTP_USER=apikey
SMTP_PASSWORD={API_KEY}
SMTP_HOST=smtp.sendgrid.net
SMTP_PORT=587
EMAIL_FROM={SENDER_EMAIL}
Note that we're also specifying from which domain email are going to be sent from. You're going to need to verify a sender identity so that Sendgrid can send emails from your domain.
Nice! We're getting there. Now we need to read supply this values as the configuration for our Email Provider. Open pages/api/auth/[...nextauth].ts and do the following:
- Next.js
- SvelteKit
- SolidStart
- Vanilla (No Framework)
import NextAuth from "next-auth"
import Email from "next-auth/providers/email"

export default NextAuth({
  providers: [
    Email({
      server: {
        host: process.env.SMTP_HOST,
        port: Number(process.env.SMTP_PORT),
        auth: {
          user: process.env.SMTP_USER,
          pass: process.env.SMTP_PASSWORD,
        },
      },
      from: process.env.EMAIL_FROM,
    }),
  ],
})
TODO SvelteKit
TODO SolidStart
TODO Core
3. Setting up an adapter
Finally, we'll need to set up a database adapter to store verification tokens the Email Provider will emit when verifying users.
An Adapter in Auth.js connects your application to whatever database or backend system you want to use to store data for users, their accounts, sessions, etc...
For this tutorial, we're going to use the MongoDB adapter, but any of the other adapters will work just fine.
First, let's start by installing the adapter package:
- npm
- Yarn
- pnpm
npm install @auth/mongodb-adapter mongodb
yarn add @auth/mongodb-adapter mongodb
pnpm add @auth/mongodb-adapter mongodb
and create a simple MongoDB client:
// This approach is taken from https://github.com/vercel/next.js/tree/canary/examples/with-mongodb
import { MongoClient } from "mongodb"

const uri = process.env.MONGODB_URI
const options = {
  useUnifiedTopology: true,
  useNewUrlParser: true,
}

let client
let clientPromise

if (!process.env.MONGODB_URI) {
  throw new Error("Please add your Mongo URI to .env.local")
}

if (process.env.NODE_ENV === "development") {
  // In development mode, use a global variable so that the value
  // is preserved across module reloads caused by HMR (Hot Module Replacement).
  if (!global._mongoClientPromise) {
    client = new MongoClient(uri, options)
    global._mongoClientPromise = client.connect()
  }
  clientPromise = global._mongoClientPromise
} else {
  // In production mode, it's best to not use a global variable.
  client = new MongoClient(uri, options)
  clientPromise = client.connect()
}

// Export a module-scoped MongoClient promise. By doing this in a
// separate module, the client can be shared across functions.
export default clientPromise
And now let's reference this new adapter from our Auth.js configuration file:
- Next.js
- SvelteKit
- SolidStart
- Vanilla (No Framework)
import NextAuth from "next-auth"
import EmailProvider from "next-auth/providers/email"
+ import { MongoDBAdapter } from "@auth/mongodb-adapter"
+ import clientPromise from "../../../lib/mongodb/client"

export default NextAuth({
  secret: process.env.NEXTAUTH_SECRET,
+ adapter: MongoDBAdapter(clientPromise),
  providers: [
    EmailProvider({
      server: {
        host: process.env.EMAIL_SERVER_HOST,
        port: process.env.EMAIL_SERVER_PORT,
        auth: {
          user: process.env.EMAIL_SERVER_USER,
          pass: process.env.EMAIL_SERVER_PASSWORD
        }
      },
      from: process.env.EMAIL_FROM
    }),
  ],
})
TODO SvelteKit
TODO SolidStart
TODO Core
4. Wiring all together
Now that everything is properly configured, let's try to sign in via email on our application.
Let's start by running a Next.js application with NextAuth, making sure the EmailProvider and a Database Adapter are properly configured as per the instructions above.
For this tutorial we're going to be using NextAuth example app. Launch the app and click on "Sign in", we're redirected to the Sign In page:
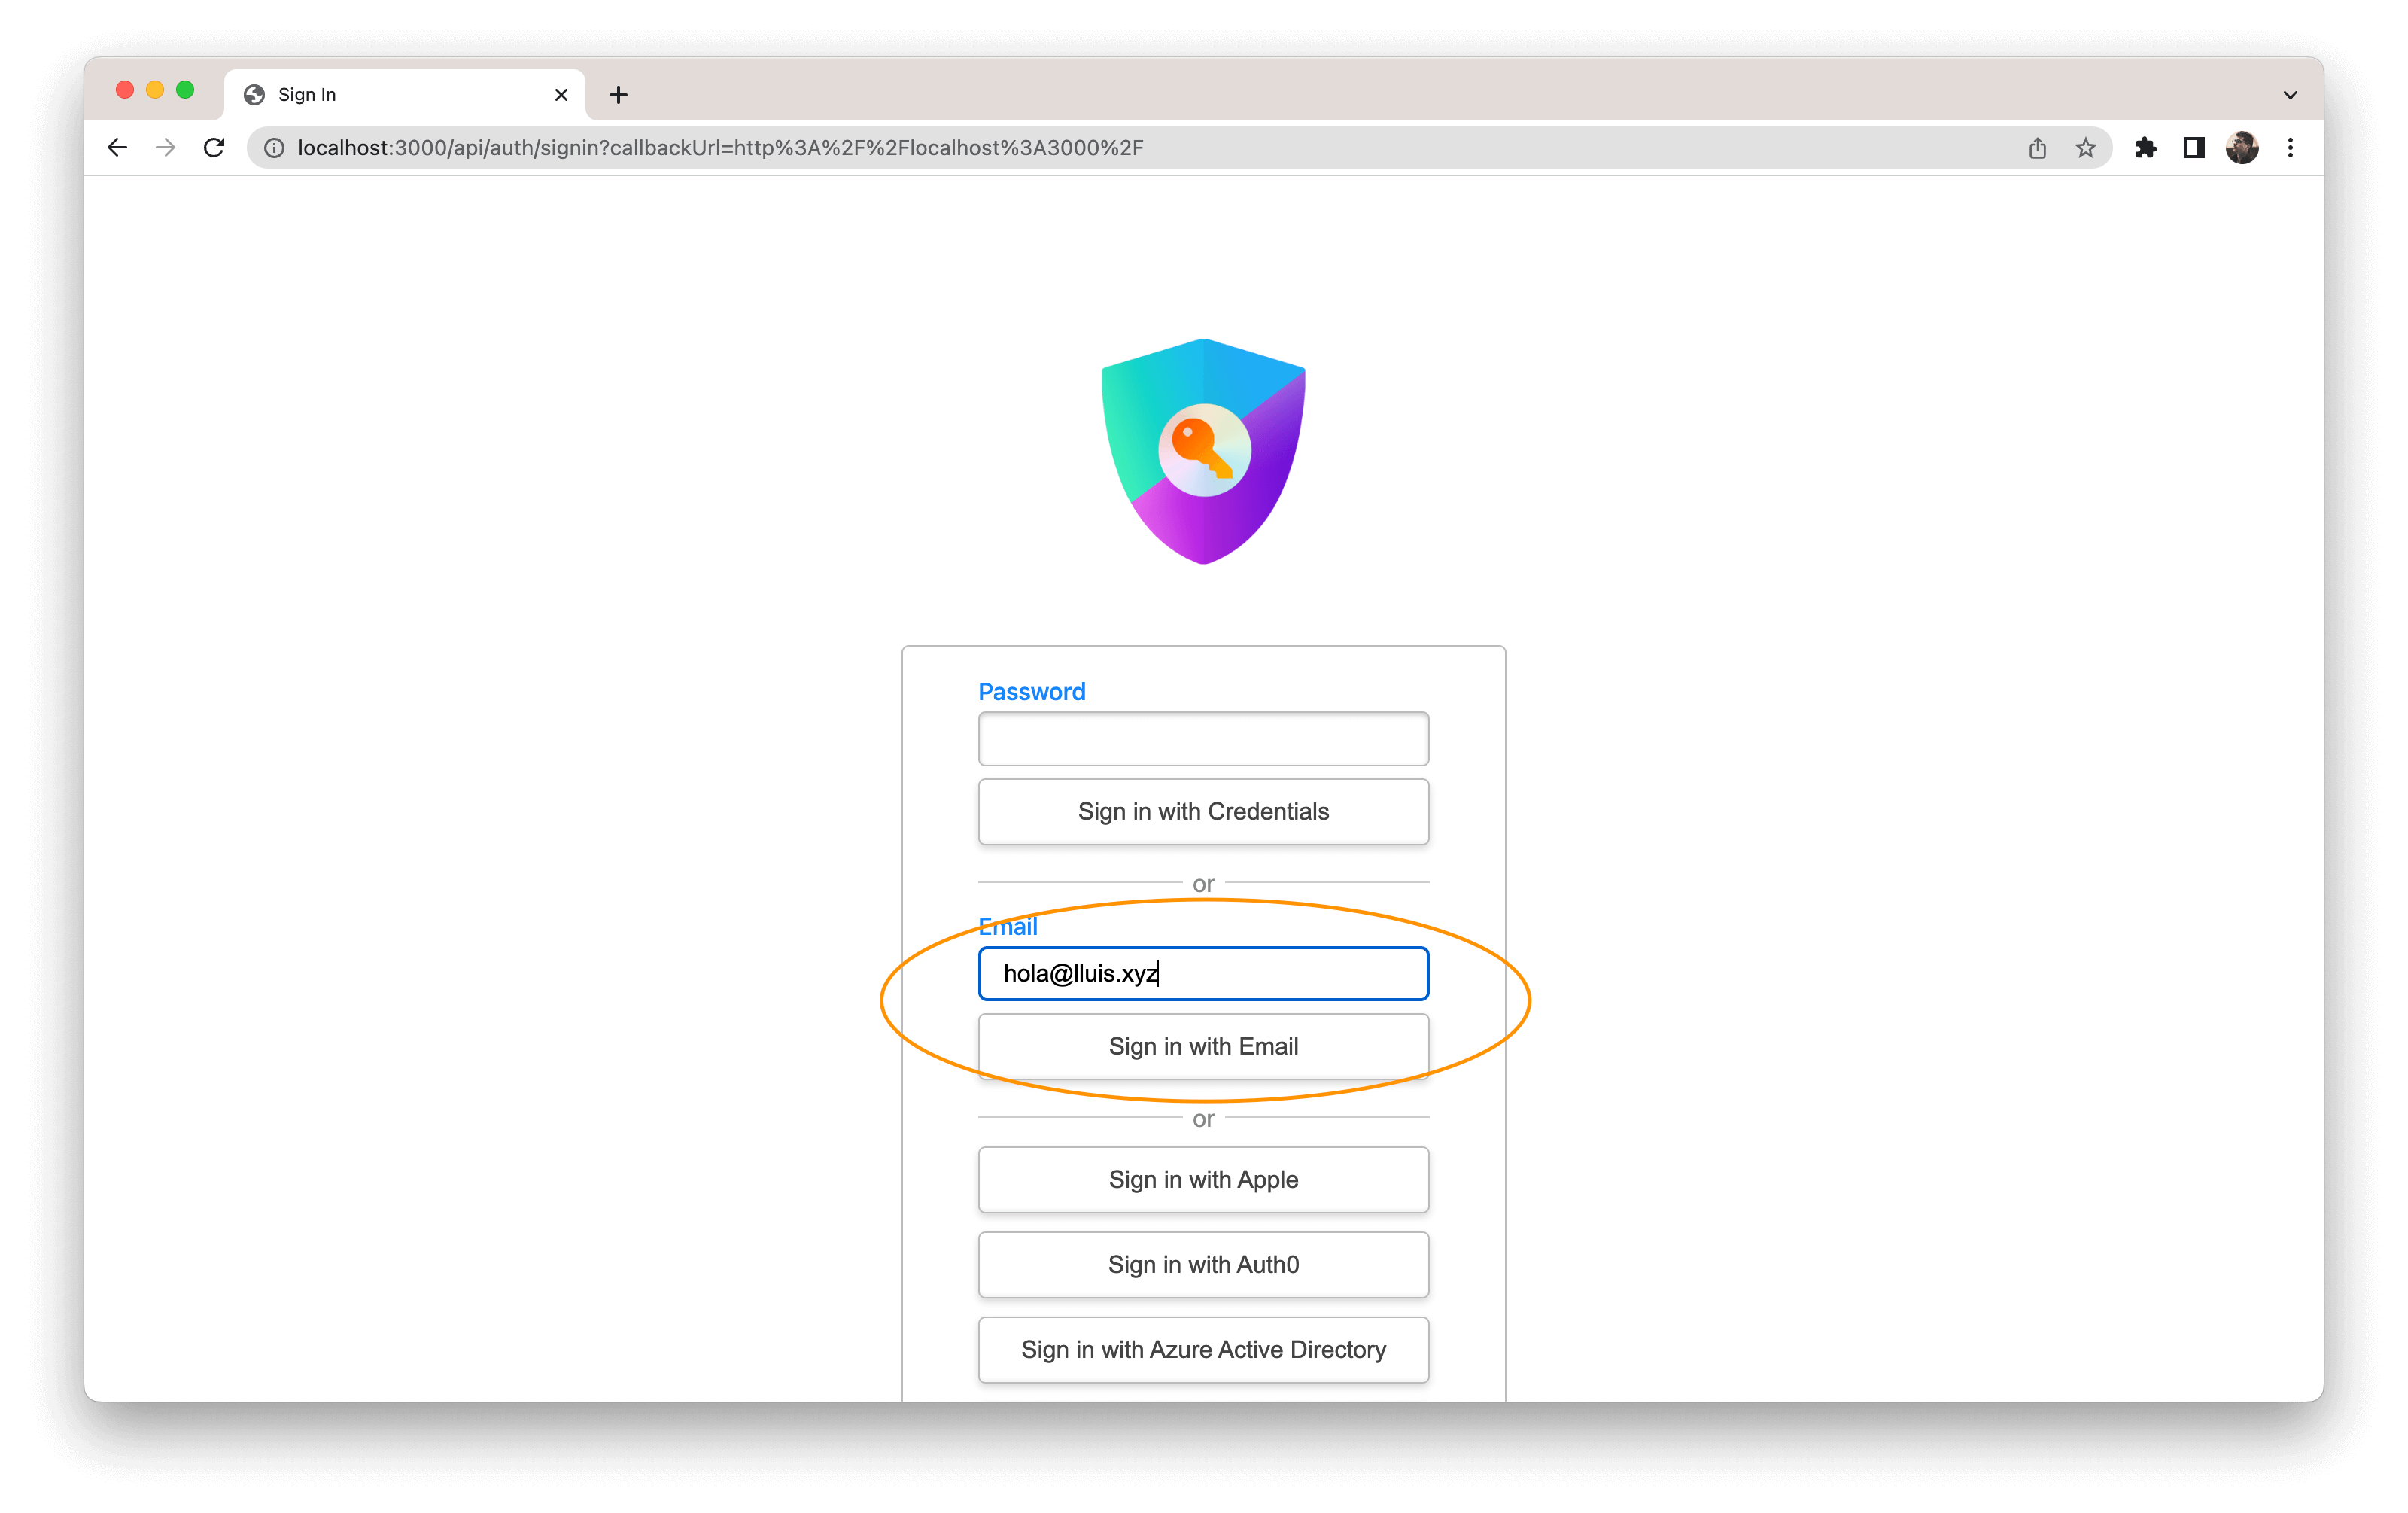
You can customize the look and feel of your Sign in page pretty easily with NextAuth. Refer to our pages guide for that!
Then we insert the email address we want to log-in with in the Email credentials section and click on "Sign in with Email".
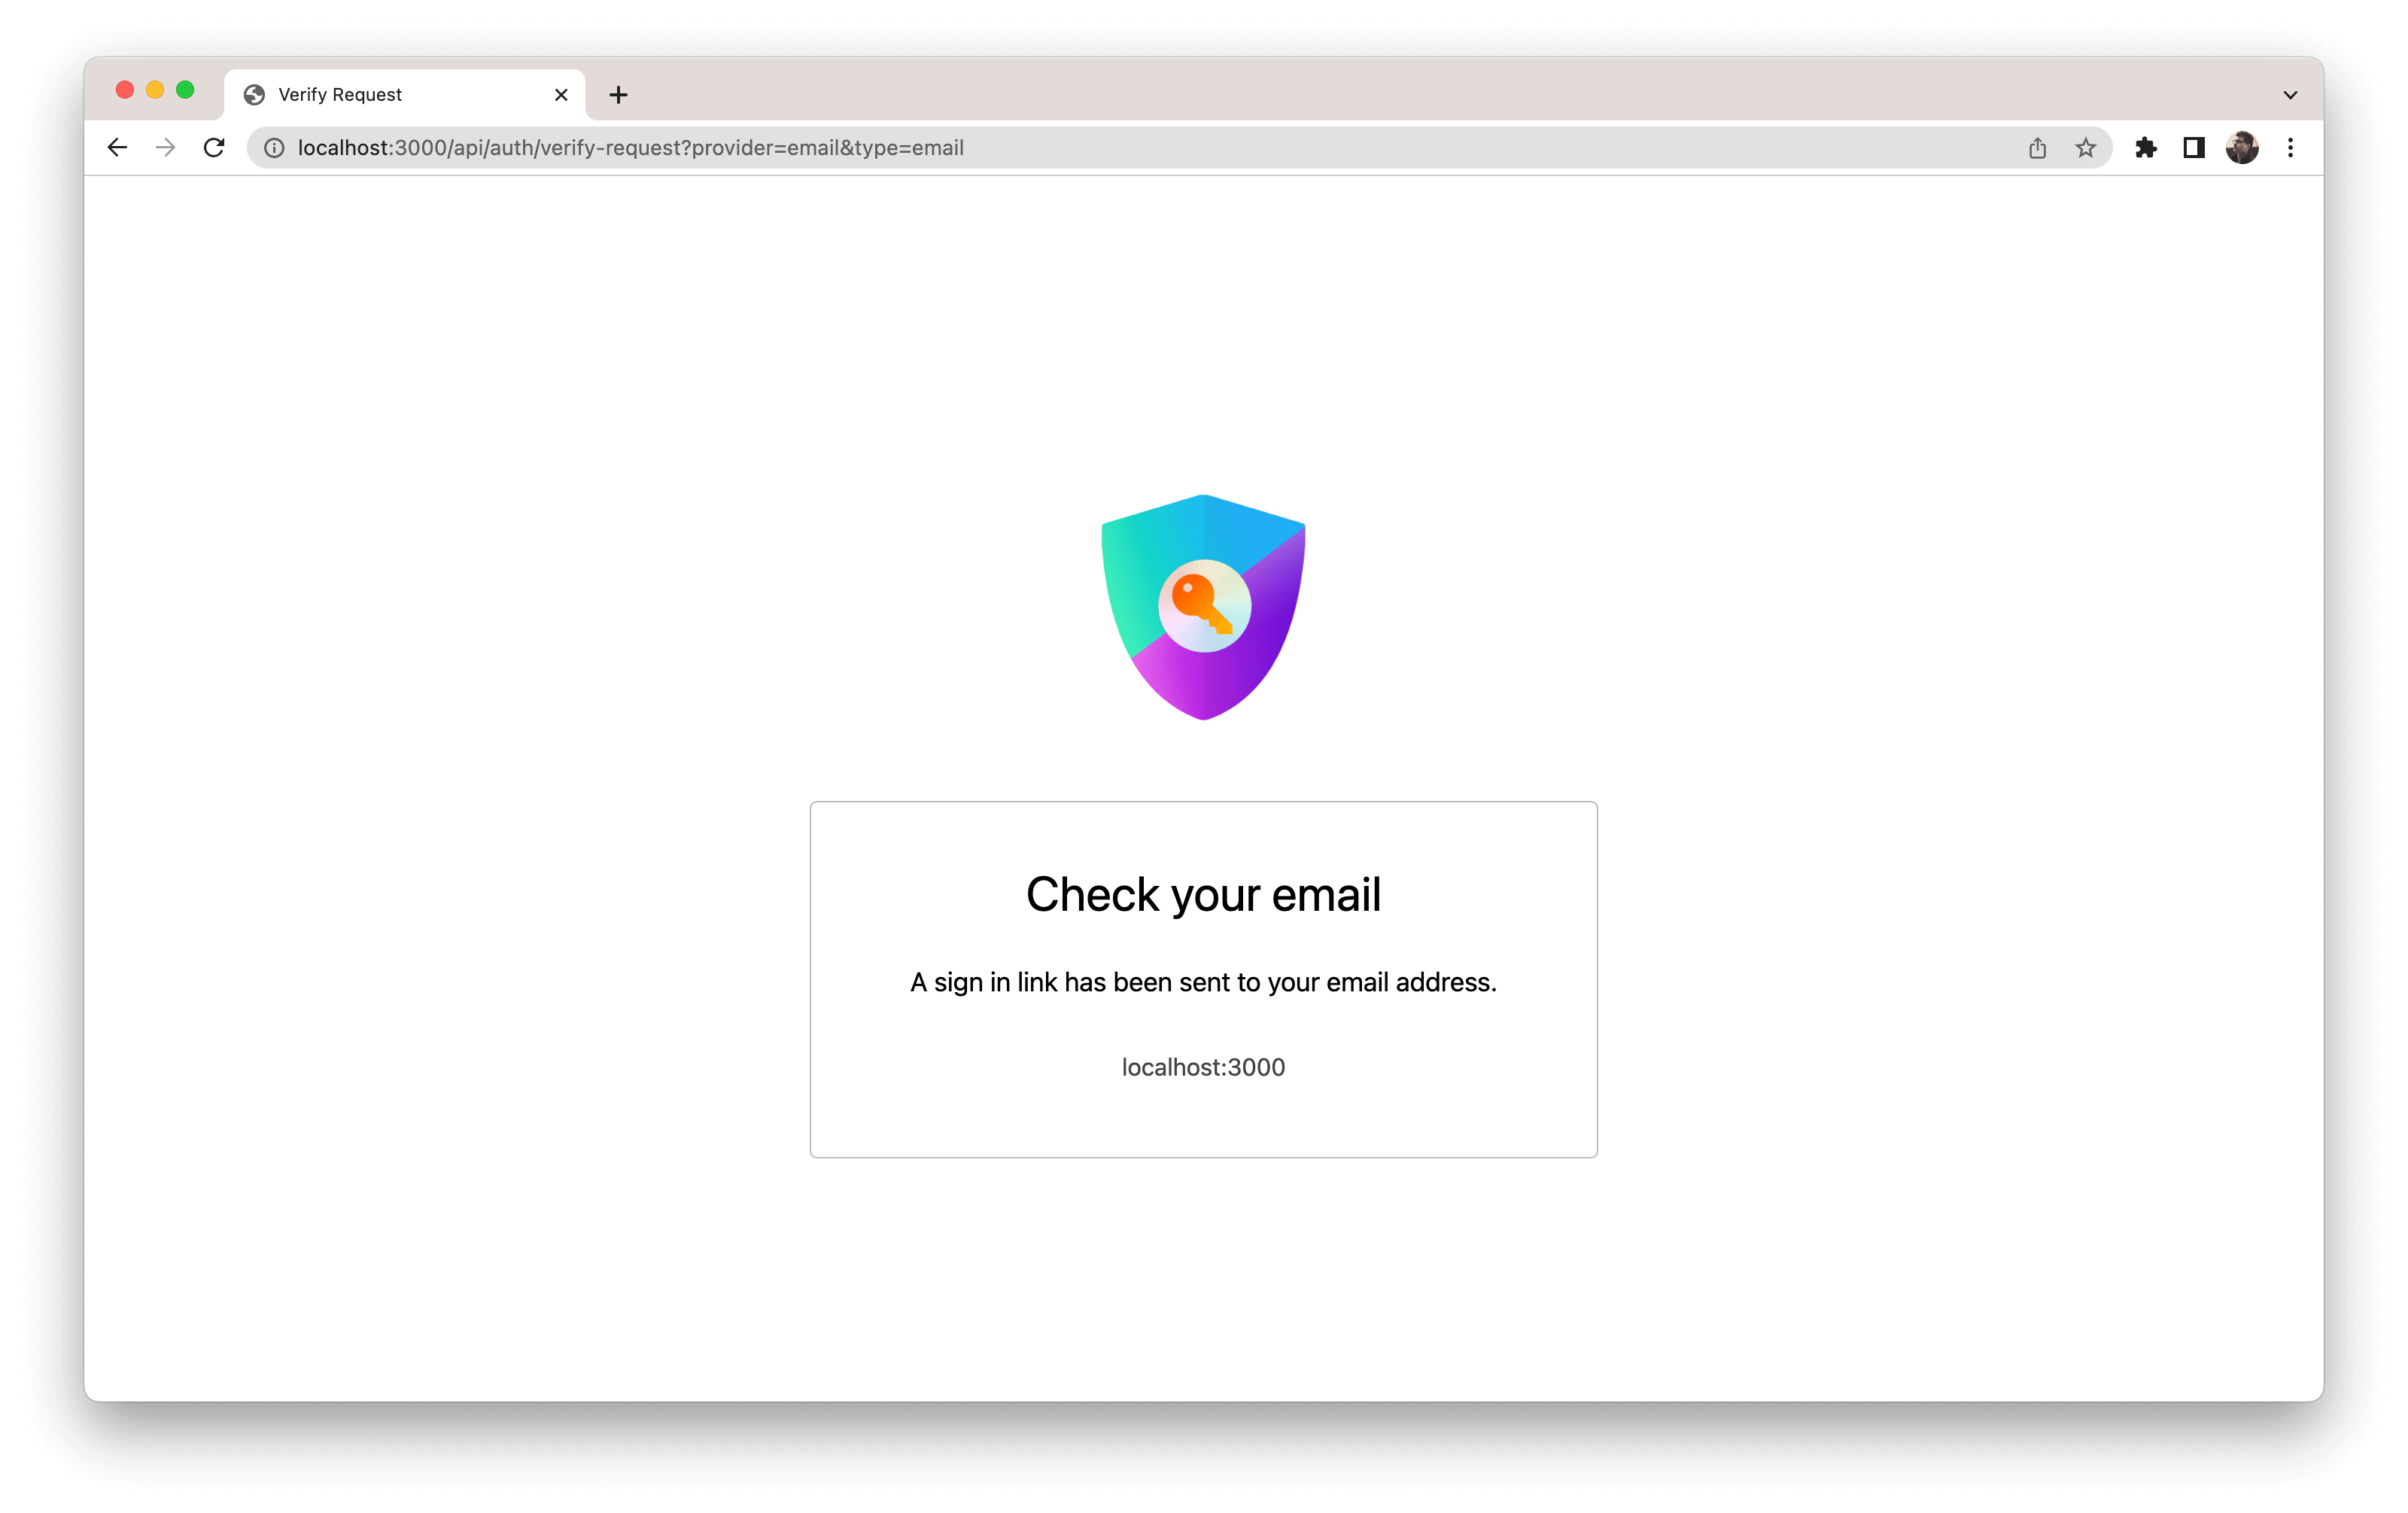
NextAuth will then display another page hinting the user to check their email:
Let's now check our email, and look for one sent from NextAuth (check your spam folder just in case):
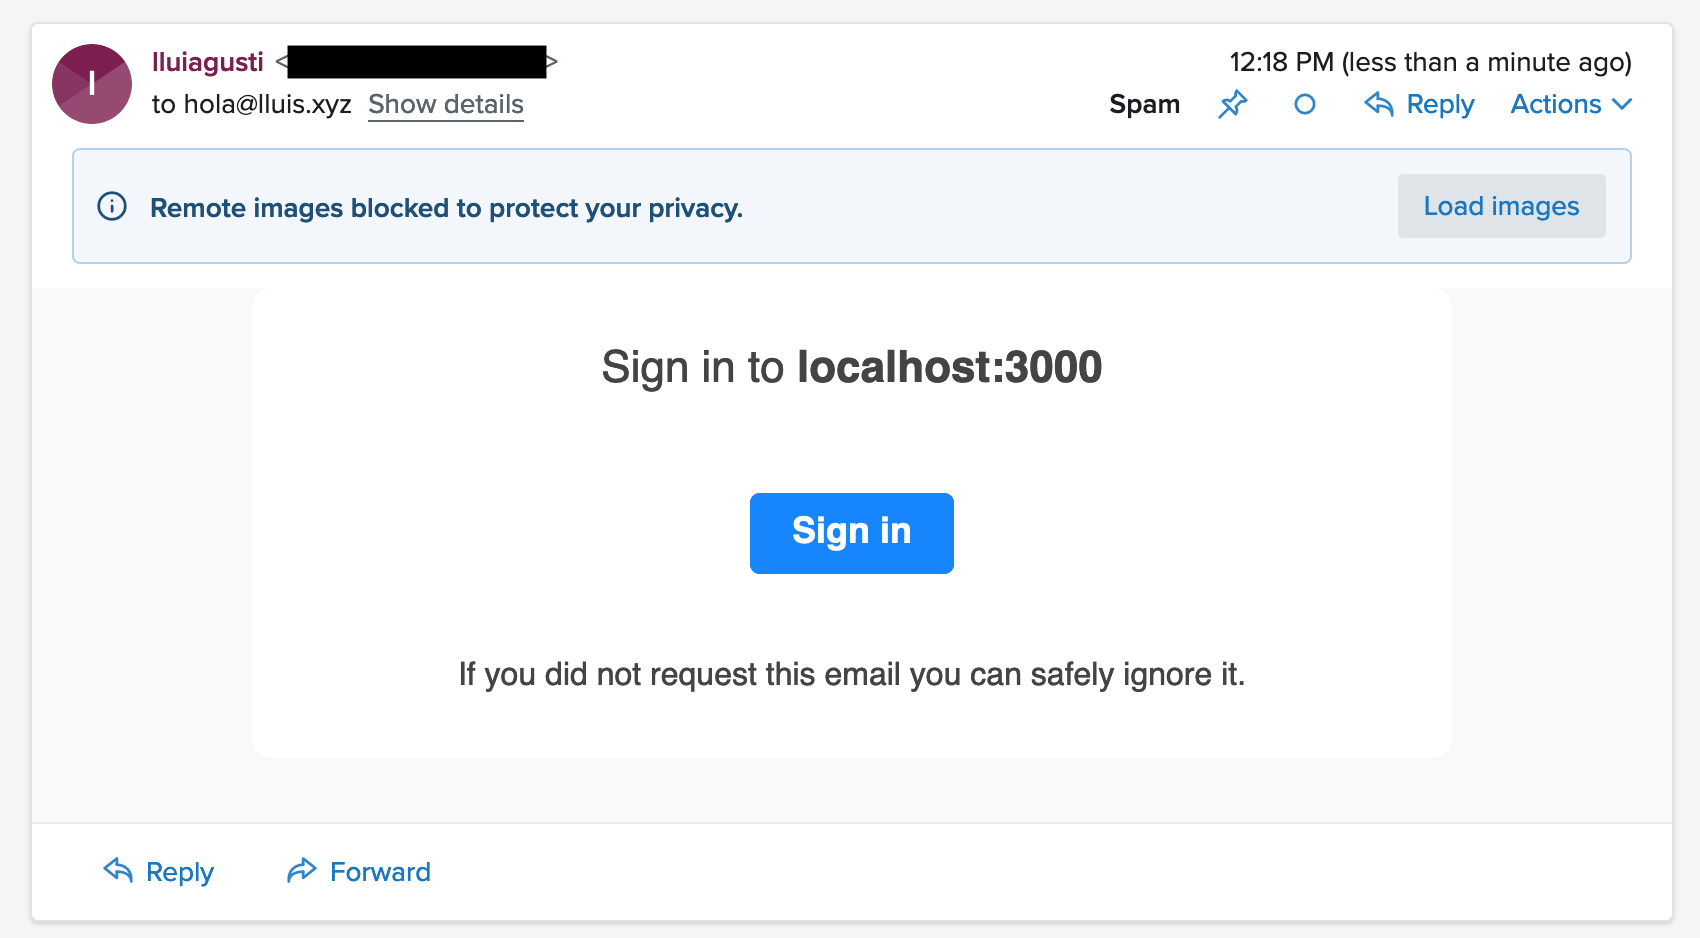
Nice! We got one, coming from the sender specified in the EMAIL_FROM environment variable from our configuration above and that's is the sender we verified in Sendgrid.
Click on "Sign in" and a new browser tab will open, you should then land on your application as authenticated!

Easy right? We had to configure Sendgrid and install a database adapter so the user sessions can be saved somewhere, but once done NextAuth will deal with all the user session management for us in a secure way!
A user account (i.e. an entry in the Users table) will not be created for the user until the first time they verify their email address. If an email address is already associated with an account, the user will be signed in to that account when they use the link in the email.